
As a regular Twitch viewer, I’ve encountered an annoying issue that many of us face: inconsistent volume levels across different streams.
While some streamers have perfect audio levels, others are barely audible.
Initially, I thought this was an unfixable problem tied to the streamer’s settings. However, after noticing that the volume was consistently higher on my iPhone’s Twitch app, I realized there might be a solution for browser users as well.
This led me to explore Loudness Equalization in Windows 11, a feature that significantly improves audio consistency.
Here’s how you can use it to fix low volume issues on Twitch when using browsers like Google Chrome, Brave, or any other, since it’s a Windows setting and not specific to an app.
What is Loudness Equalization?
Loudness Equalization is a sound enhancement feature within Windows that normalizes audio output. It boosts quieter sounds and tones down louder ones, creating a more balanced audio experience. This feature is particularly beneficial for content with varying audio levels, such as this Twitch problem.
I should clarify this point: the issue is NOT with the Twitch platform itself.
Why Loudness Equalization Matters for Twitch Viewers
- Consistent Audio Levels: It ensures that all Twitch streams have uniform audio levels, so you don’t have to constantly adjust the volume.
- Enhanced Clarity: Quieter streams become easier to hear without affecting the quality of louder streams.
- Better Viewing Experience: With audio levels balanced, you can focus more on enjoying the content without distractions.
My Experience with Twitch Audio Issues
I’ve had frustrating experiences where the volume levels of some streamers were significantly lower compared to others. My first assumption was that these issues stemmed from the streamers themselves—perhaps they were broadcasting at lower volumes. This theory seemed plausible until I realized that the Twitch app on my iPhone did not have this issue, and the sound was consistently loud across all streams. It dawned on me that the problem might be related to how audio is handled by different devices.
How to Enable Loudness Equalization in Windows 11 to Fix Twitch Volume
Access Sound Settings:
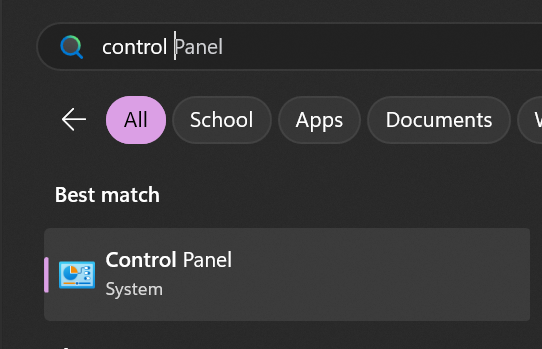
- Open your Control Panel through the Start menu.
- At the top right, make sure the View selected is “Small icons”:
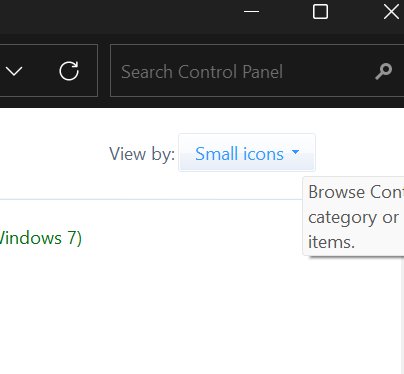
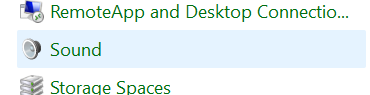
- Open Sound:
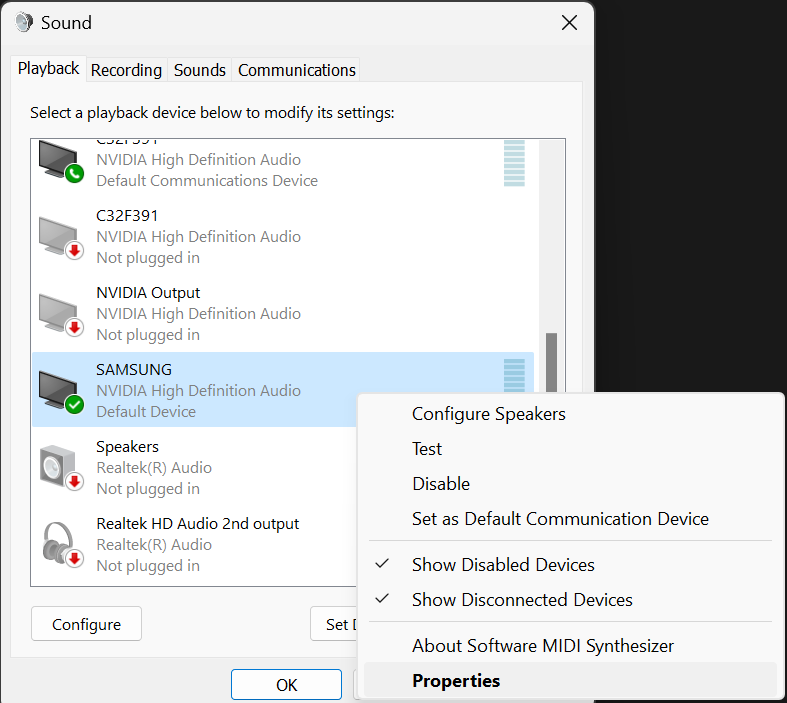
- At the top, ensure that the “Playback” tab is selected.
- Find your output device; in my case, it’s labeled “SAMSUNG” through Nvidia HDMI.
- Right-click and select ‘Properties’.
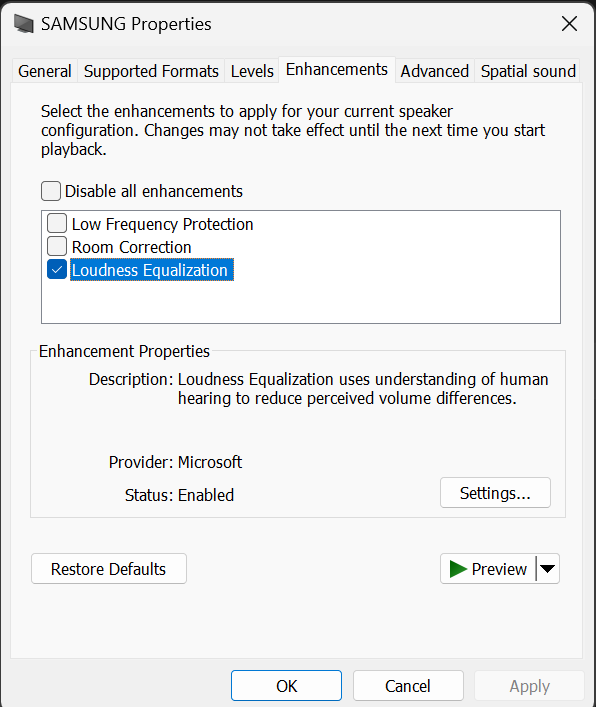
- At the top of this new window that appears, select the “Enhancements” tab. (If your device doesn’t have an Enhancements tab, then you can’t take advantage of this fix.)
- In the “Enhancements” tab, enable Loudness Equalization by checking the box and then click ‘Apply.’
Done !
You will likely notice that the sound is already fixed the moment you press “Apply,” as this changes the entire Windows audio setup.
By enabling Loudness Equalization in Windows 11, I’ve effectively normalized the audio levels, making every stream enjoyable regardless of the original audio settings. This simple adjustment has greatly improved my Twitch viewing experience, and I highly recommend it to anyone facing similar issues.